

Draw A Winter Habitat
Instructions: Create a picture showing your Arctic animal in its natural winter environment.
- Your drawing should include:
- Snow, ice, or Arctic landscape
- The animal you chose
- Any shelters (den, burrow, cave, ice floe, ocean, etc.)
- Details that show how the animal survives winter
Arctic Vocabulary
- Habitat: The place where an animal lives.
- Adaptation: A trait that helps an animal survive.
- Blubber: A thick layer of fat used to stay warm.
- Camouflage: Coloring that helps an animal blend in.
- Predator: An animal that hunts others.
- Prey: An animal that is hunted for food.
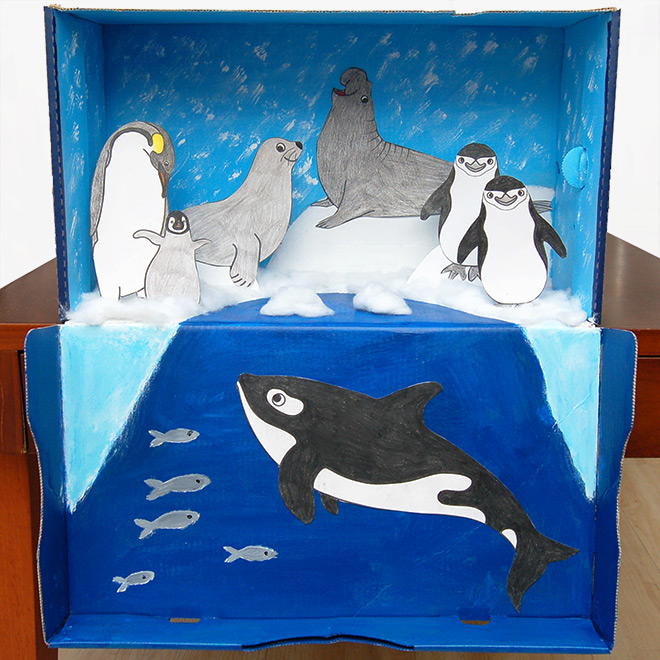
Create a Habitat Diorama
Make an Arctic Habitat Diorama Using Simple Materials at Home
This activity lets students build a 3D miniature Arctic scene showing the animal in its winter environment.
Materials (use what you have):
- Shoe box or small cardboard box
- Paper, construction paper, or leftover packaging
- Cotton balls (snow)
- Blue/white paper or foil (ice and water)
- Glue or tape
- Crayons, markers, or paint
- Small toys OR paper cut-outs of your animal
Optional: sticks, pebbles, tissue paper, baking soda (snow effect)
Steps:
- Prepare the box
- Turn the shoebox on its side to create an open-front display.
- Cover the inside with white or blue paper for a winter background.
- Build the landscape
- Use cotton for snow.
- Use blue paper or foil to make ice or ocean water.
- Create hills, snowbanks, caves, or burrows using crumpled paper.
- Add your animal
- Draw and cut out your animal, or use a small toy figure.
- Place it in the diorama where it would naturally live.
- Include survival details
Show at least one adaptation, such as:
- Thick fur
- Ice floe
- Snow den
- Blubber for warmth
- A place to hunt for food
Label your diorama (optional) Add small labels pointing to:
- Habitat features
- Adaptations
- What the animal eats